Cottage & Family [Search results for painting]
Painting, Sewing & Cleaning ....

Funky Animal Painting/Collage

"Framed" Self Portraits

~ Painting Pink in the Heat ~
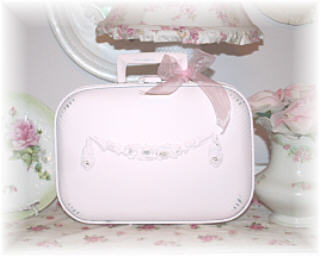
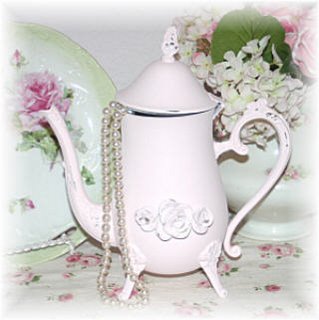
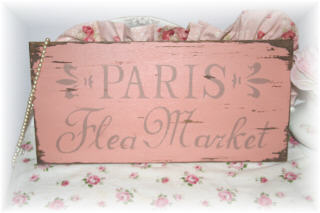
~ Flea Market Finds Recreated ~
"Batik" Bags

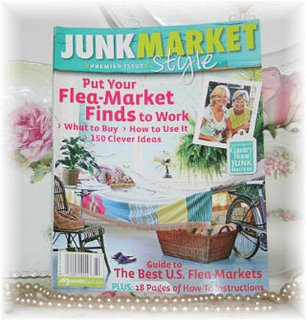
~Flea Market Day ~
Gorgeous Gift

Recreating for Make Mine Pink "Pink Friday"

Painting Day

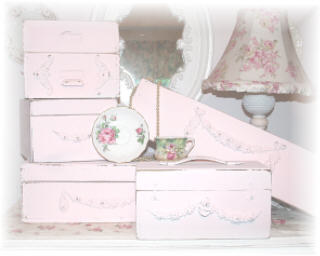
~ Tons of Pink Boxes ~
Kings and Queens-- 1st and Kindergarten

Flooding and Stuff

LaurieAnna's Giveaway

Vintage Aqua Ball Jars

Kindergarten Collage Castles

Show Me Your Form Party

Hand Made Silk and Ribbon Roses * Perfect Mother's Day gift ~

~ Trade Days ~
Chalk Paint Class


