Cottage & Family [Search results for Room]
~ Shabby Office Makeover ~

Creativity & ADD

New ( Old ) Living Room Decor

Creatively Made Home

Photo Transfer to Wood Tutorial

Cooking or Crafting ??

Chihuly Chandelier Inspired by Mr E

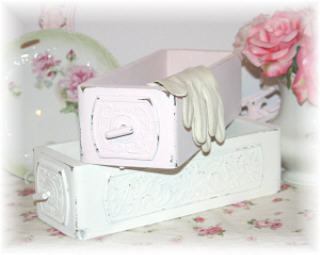
~ Boxes * Boxes * Boxes ~
Architectural Salvage Rocks!!

~ Vintage Sewing Machine Drawers ~
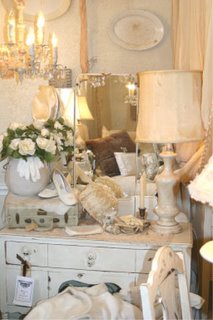
~ White on White ~ I LOVE it ~
Vintage Lace Flea Market Totes

~ Off to College ~

Bird's Nest & Spring

My Drying Hydrangeas Quest ....

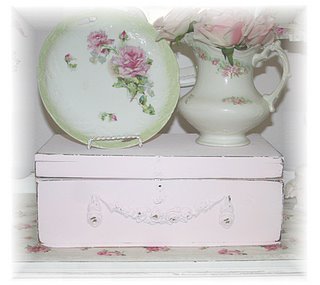
~ Sooo Precious Vintage Style in Pink ~

Petite Pillows


